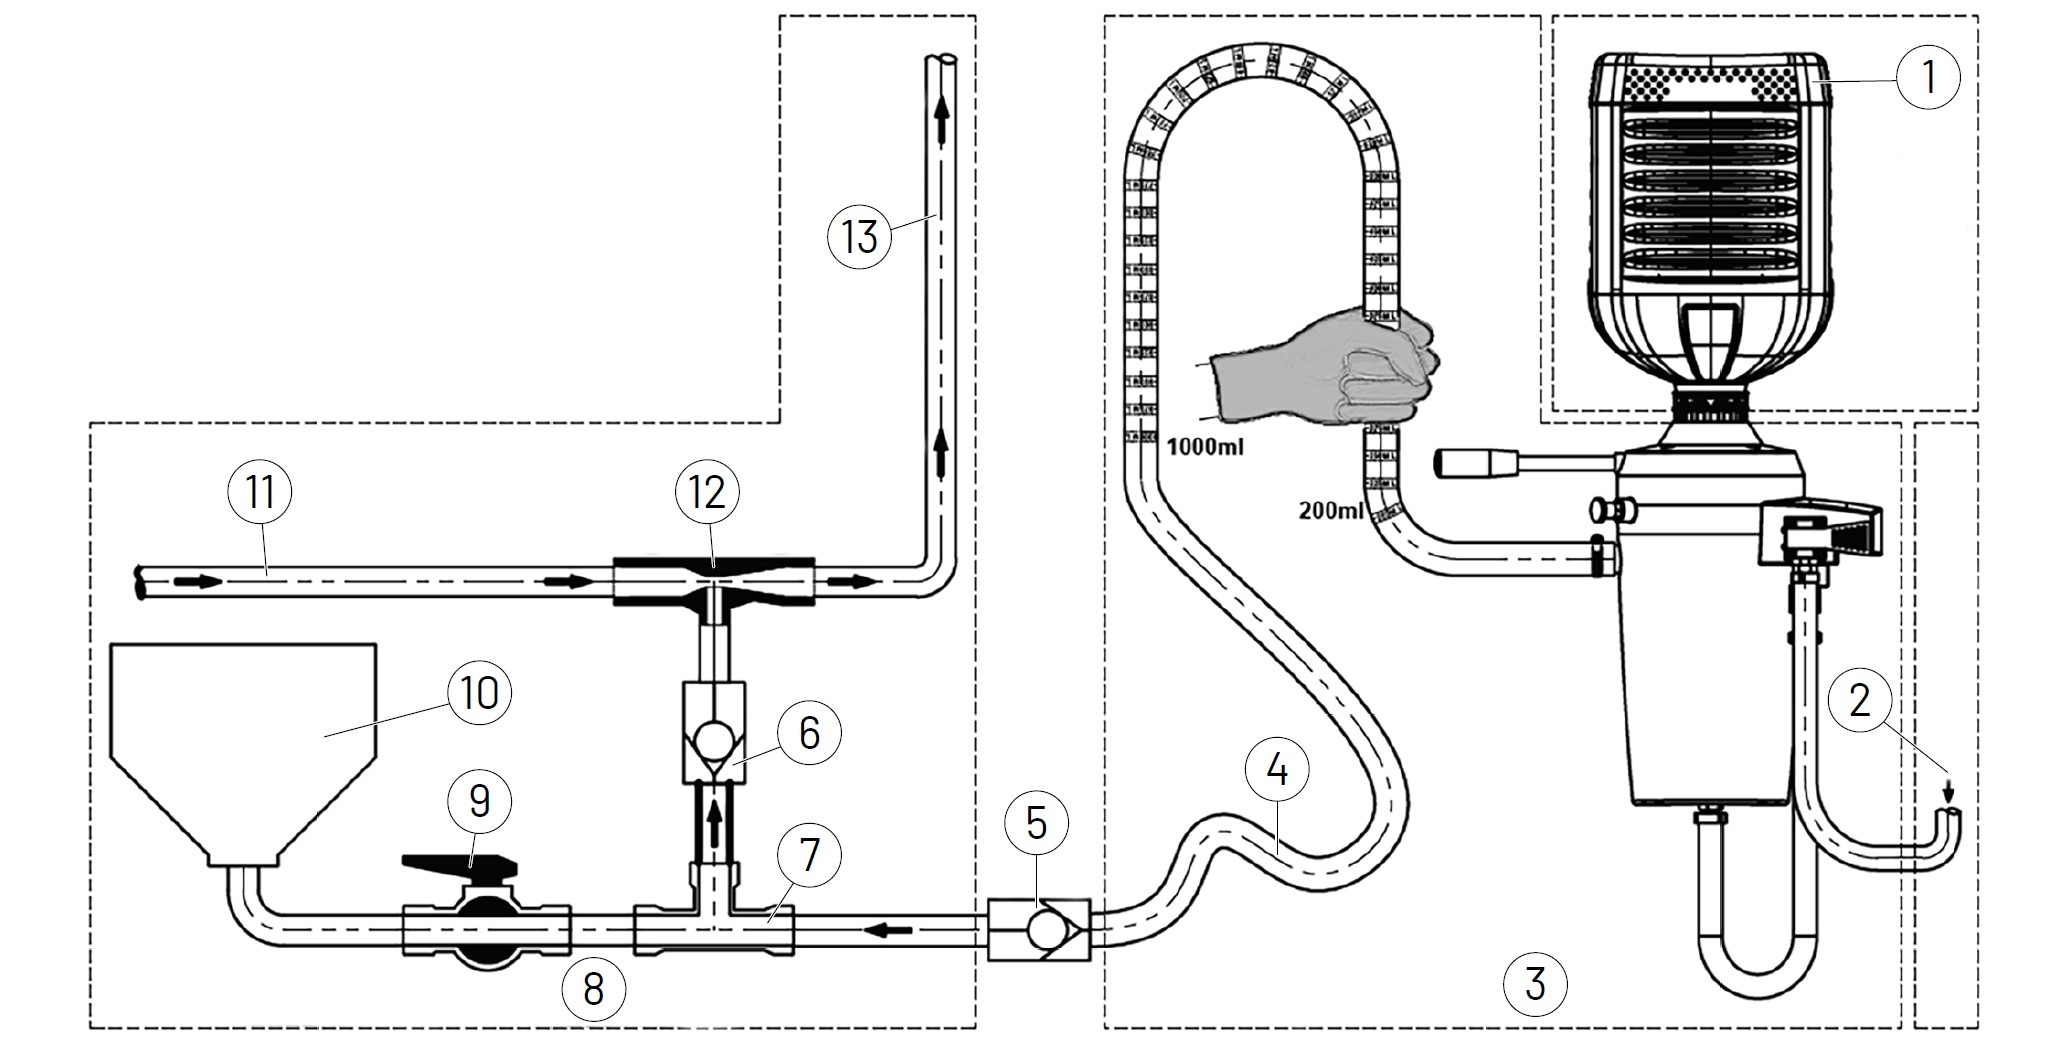
1. Behälter mit easyconnect-Kappe
2. Spülwasserquelle
3. Cleanload Nexus
4. Kalibrierter Ansaugschlauch
5. Rückschlagventil
6. Rückschlagventil
7. T-Stück
8. Ansaugbereich für das Spritzgerät
9. Absperrventil
10. Einspülbehälter
11. Zirkulationsleitung von der Sprühpumpe
12. Induktor (Venturi)
13. Zum Spritzbrühebehälter (ohne Drossel)
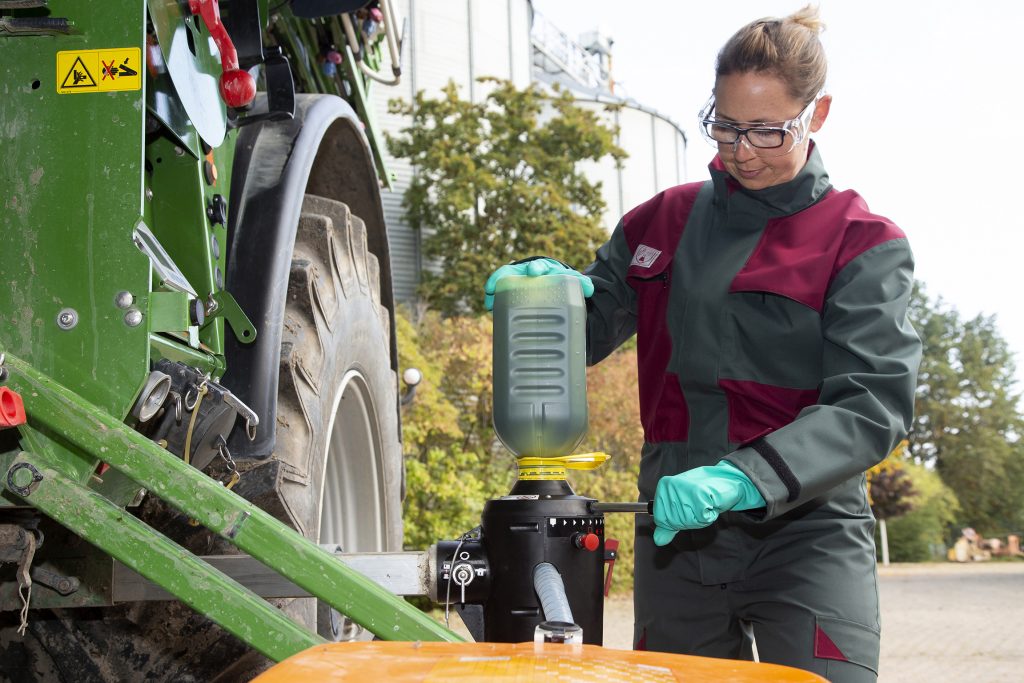
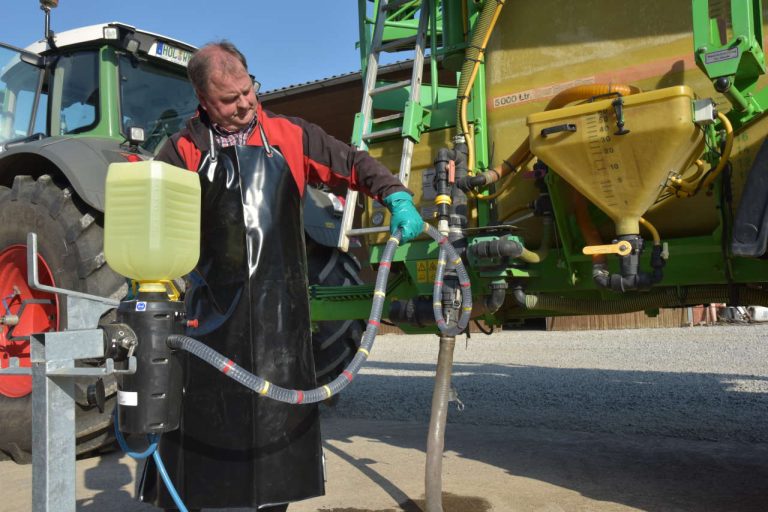
CLEANLOAD NEXUS GESCHLOSSENE ÜBERGABEKUPPLUNG
Klempnerarbeiten CLEANLOAD NEXUS
The plumbing layout from the installation manual is shown here. The hose can be used for measuring < 1 litre from a bottle and it must be possible to lift it when measuring and lower it to drain, but avoid bends that could trap chemical residue. Note: that there is no valve between the Cleanload Nexus and the venturi, this is to prevent the risk of rinse being operated when suction of closed.
Befolgen Sie für eine erfolgreiche Installation stets die Anweisungen und Sicherheitshinweise in der Installations- und Bedienungsanleitung und ziehen Sie in Erwägung, sich vor Beginn der Arbeiten mit dem Hersteller des Sprühgeräts oder dem Kundendienst zu beraten.


